Now that our board is finished, it’s time to get it ordered! We’re going for PCBA, which stands for Printed Circuit Board Assembly, because we’re having the board assembled for us. This is perfect since we have some tiny, fine-pitch components that are hard to hand-solder, especially if you’re just starting out.
But before we hit that order button, there’s one small but very important check we always run first: the DRC.
DRC
The Design Rule Checker, or DRC for short, is a tool that scans your design for any issues that could cause problems during manufacturing. It checks things like whether different nets are accidentally connected or if something else might prevent your board from being made correctly. If everything passes, you’re good to go.
Running the DRC is easy. Just click on DRC in the bottom bar, then hit Check DRC.
You’ll probably see a Differential Pair Error pop up. This happens because differential pairs ideally need to be the same length for high-speed signals. Since we’re only making a USB 2.0 hub, the rules for equal lengths are pretty relaxed, so we can adjust the DRC settings.
To fix it, go to Design in the top bar and click on Design Rules. A new tab will open. On the side, find Differential Pair, click it, and change the length tolerance to 10. Then hit Confirm, and you’re all set.
After updating the tolerance, click Check DRC again. This time, you should see no more errors, which means your design is ready to go!
If you still see some DRC errors, try googling them to find a solution. If that doesn’t help, ask in forums or, if you’re in the Hack Club Slack, drop a question in the #electronics channel.
Ordering from JLCPCB
To place your order, click the Order PCB button on the top bar. It will ask if you want to run the DRC one more time, so go ahead and check it just to be safe. Then click Confirm on the next dialog and you will be redirected to JLCPCB, where your PCB will be automatically uploaded.
There are a lot of settings here, which can be a bit overwhelming, but the only ones you really need to worry about are PCB Color and Surface Finish.
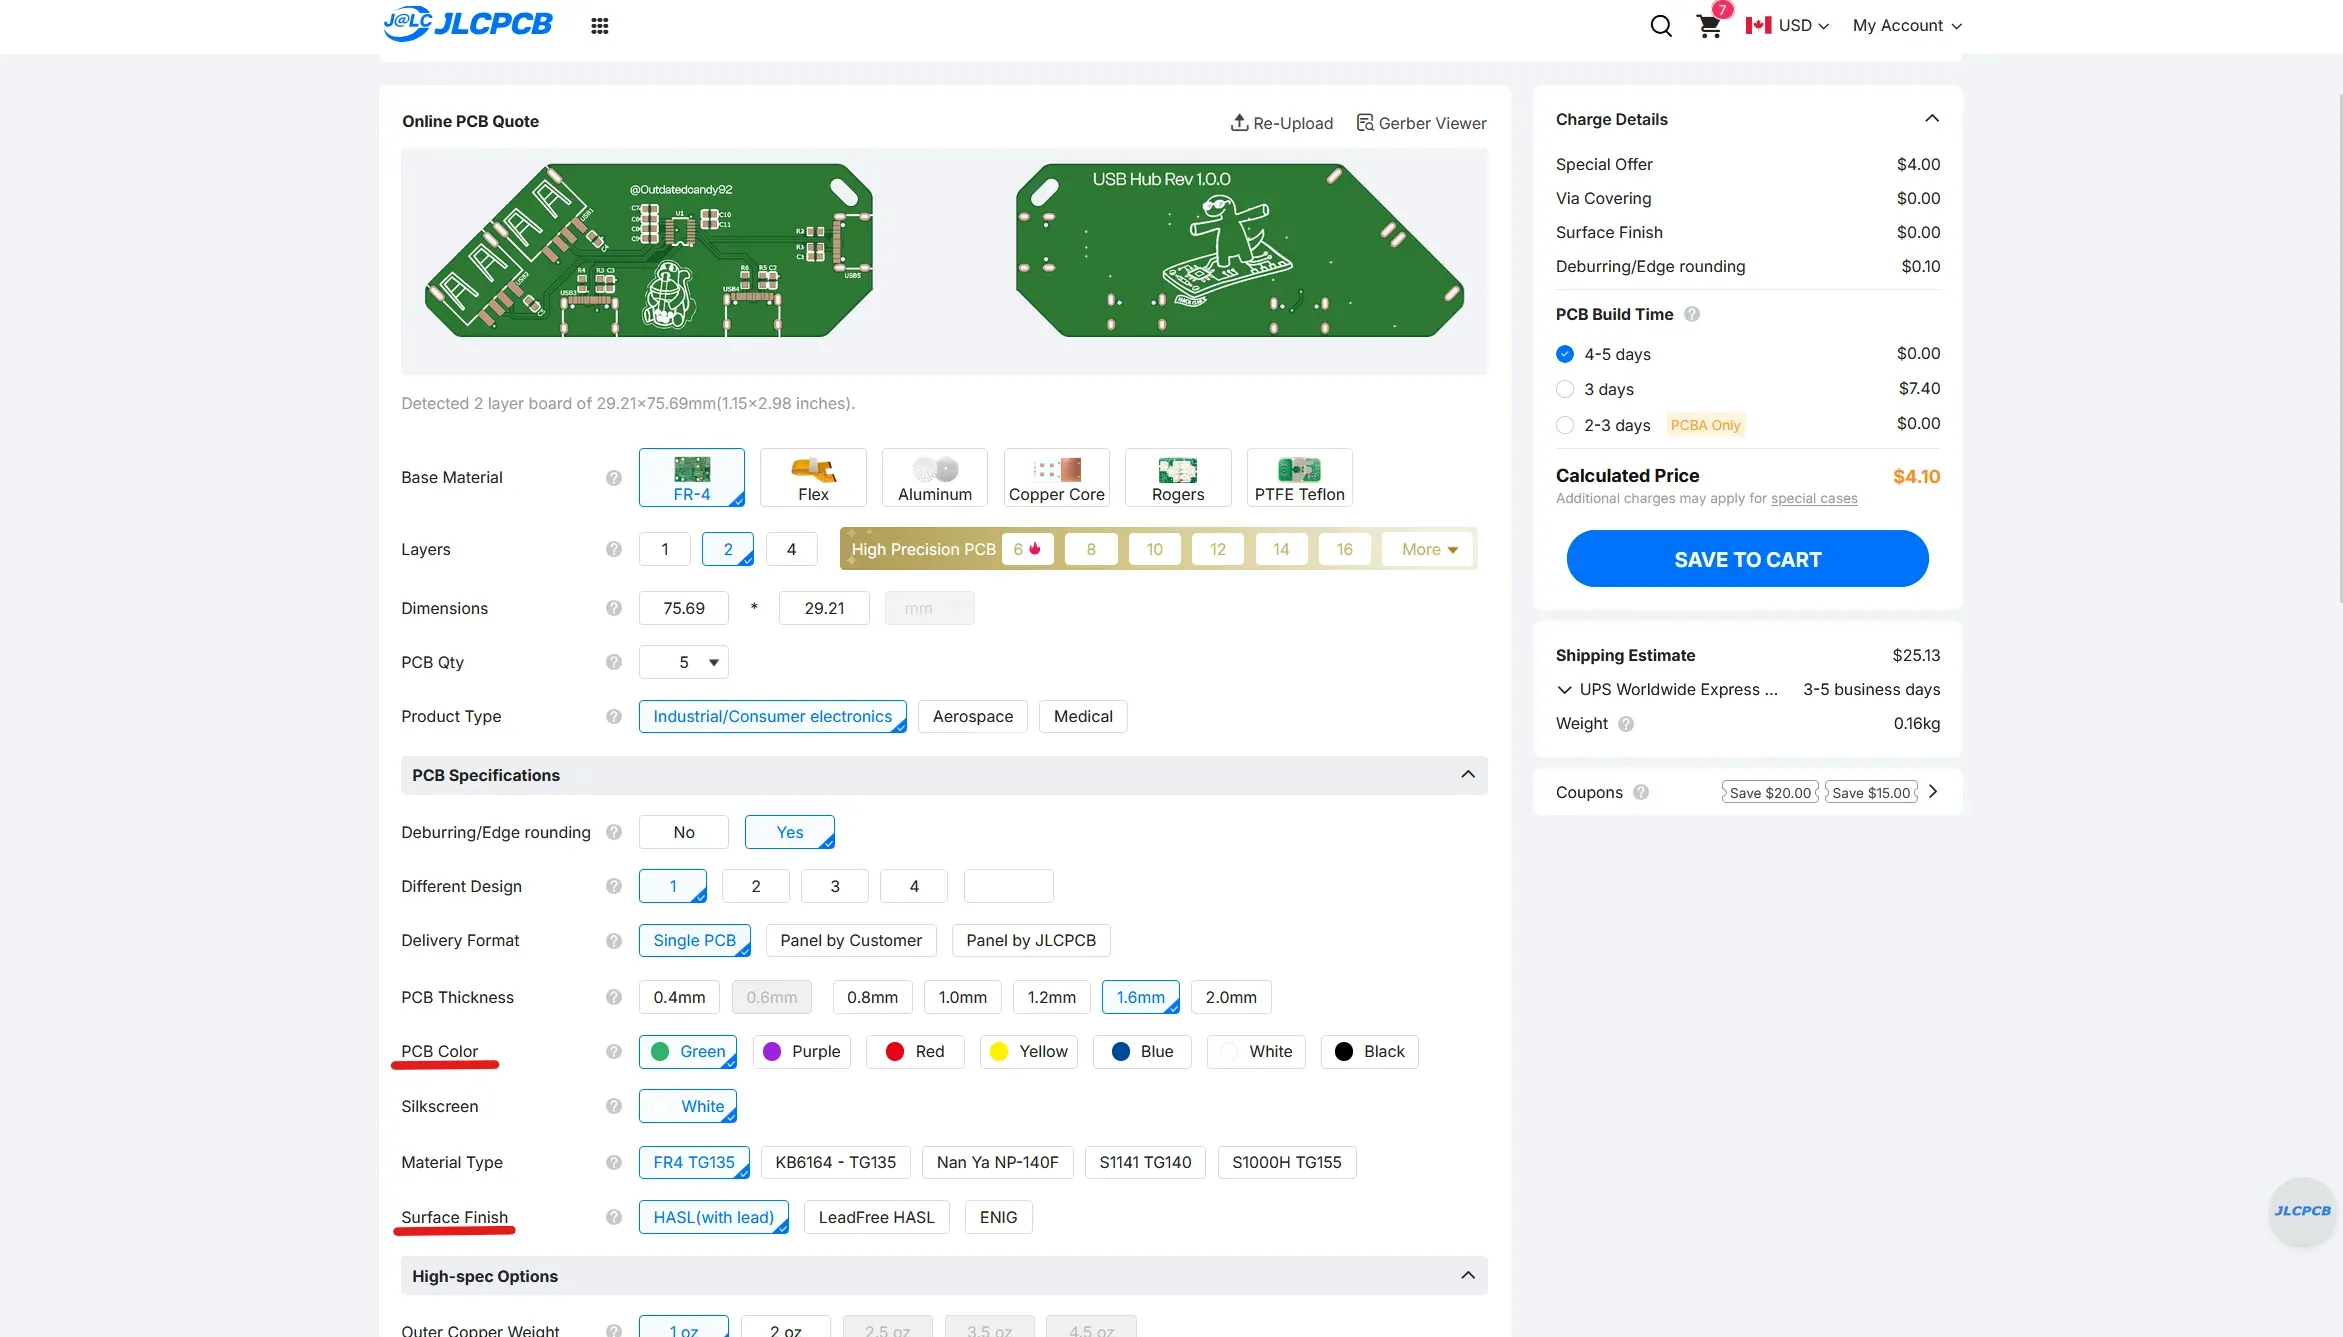
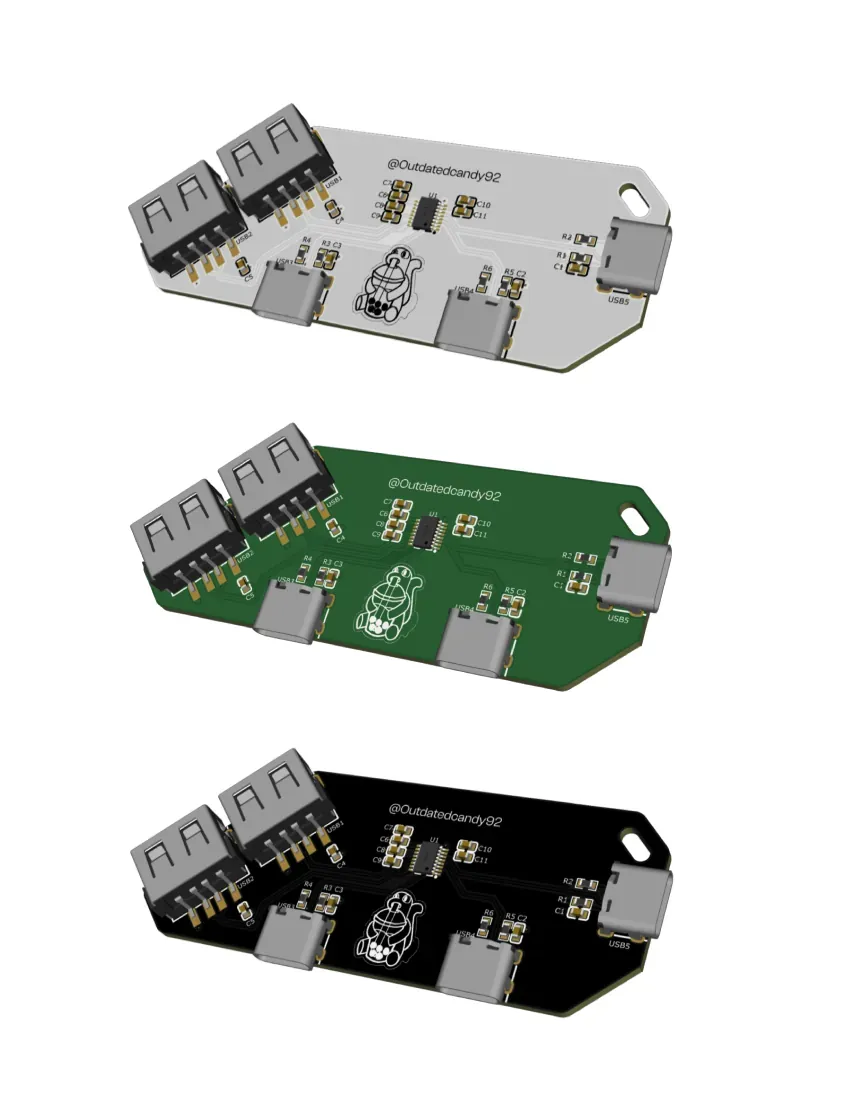
PCB Color is pretty straightforward. It decides the color of your board. The default is green, which already looks great, but you can pick any color you like. In my opinion, green, black, and white look the coolest.
Surface Finish refers to how the exposed pads on your PCB are coated. HASL is the default and gives a silver finish. HASL Lead Free is the same but without lead, and ENIG gives a gold finish. For this project, I recommend using HASL, though you can choose the Lead Free option if you prefer.
Next, scroll down and select the PCB Assembly option. In the configurations, make sure the PCBA Type is set to Economic and the PCBA Quantity is 2. You can leave the rest of the settings as they are.
Now click Next, and then Next again. You’ll reach the BOM page. Make sure all the parts are selected, since some may be unchecked by default. After that, just continue through the rest of the steps.
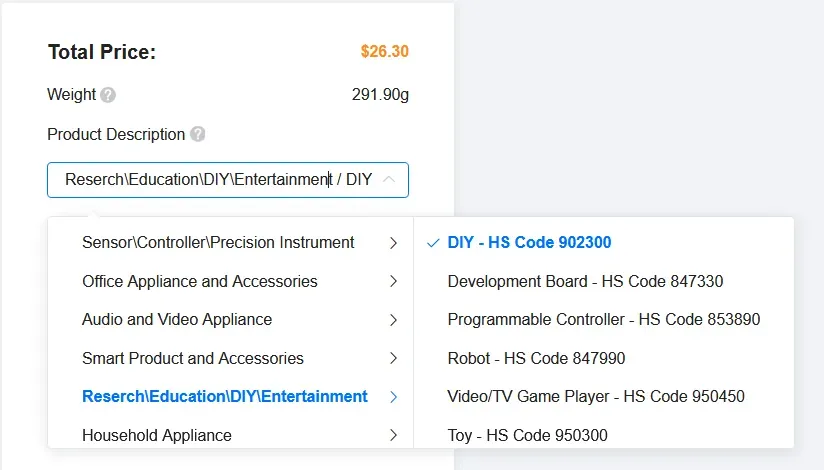
You’ll reach the quote and order page. Here you just need to enter a product description. It doesn’t really matter what you put, so I chose DIY. Then click Save to Cart, and you’re done.
Now you can go ahead and order your very own custom USB Hub!